Accessories are like the jewelry for an outfit, the finishing stitching in a sports car’s interior, the icing on the cake! You would be shocked at the difference in a space once it’s been accessorized, compared to when it isn’t. Have you ever watched TLC’s Say Yes to the Dress and seen their signature move of “jacking up” the bride with the veil, sparkly belt, jewelry, and shoes? It’s the same idea with interior design and putting the final touches in a space!
Properly accessorizing a room can be challenging though. Colour, size, placement, how much is too much – it gets overwhelming. Then there’s the question of how to incorporate your own personal items or beloved knick-knacks.
To make this blog easy I’m going to stick with accessorizing shelving as my case in point! Similar guidelines can be used for placing accessories throughout a complete room as well. The three main things to consider are repetition, scale, and flow.
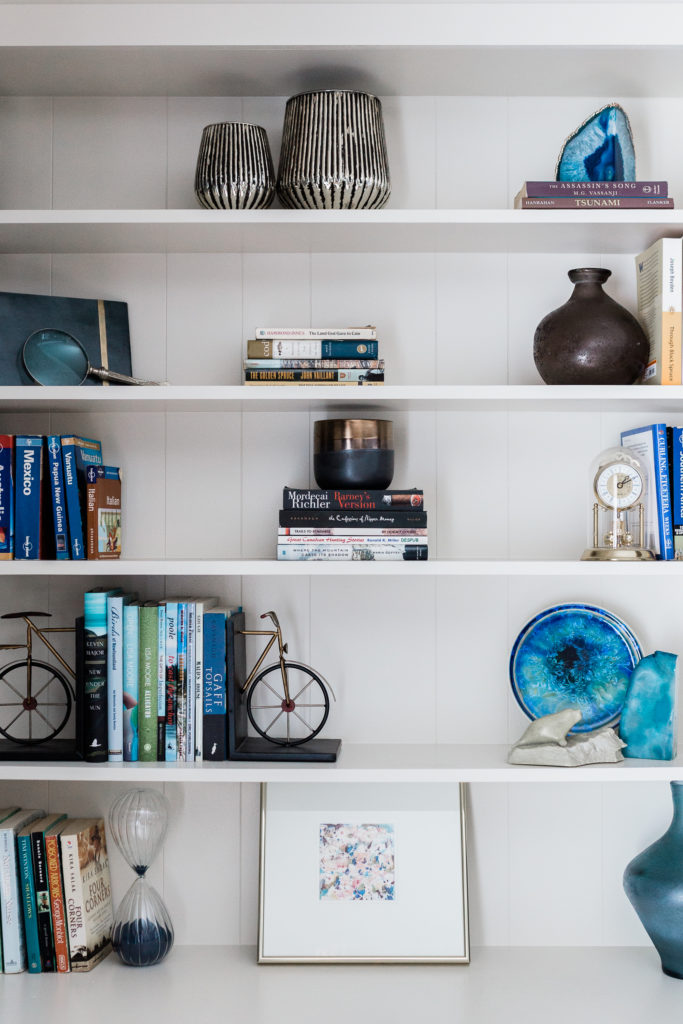
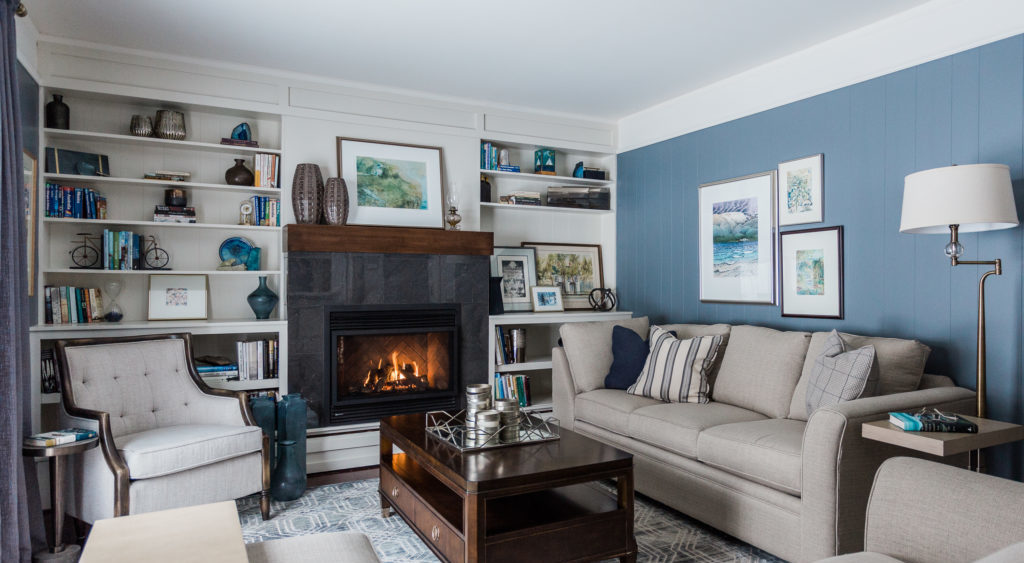
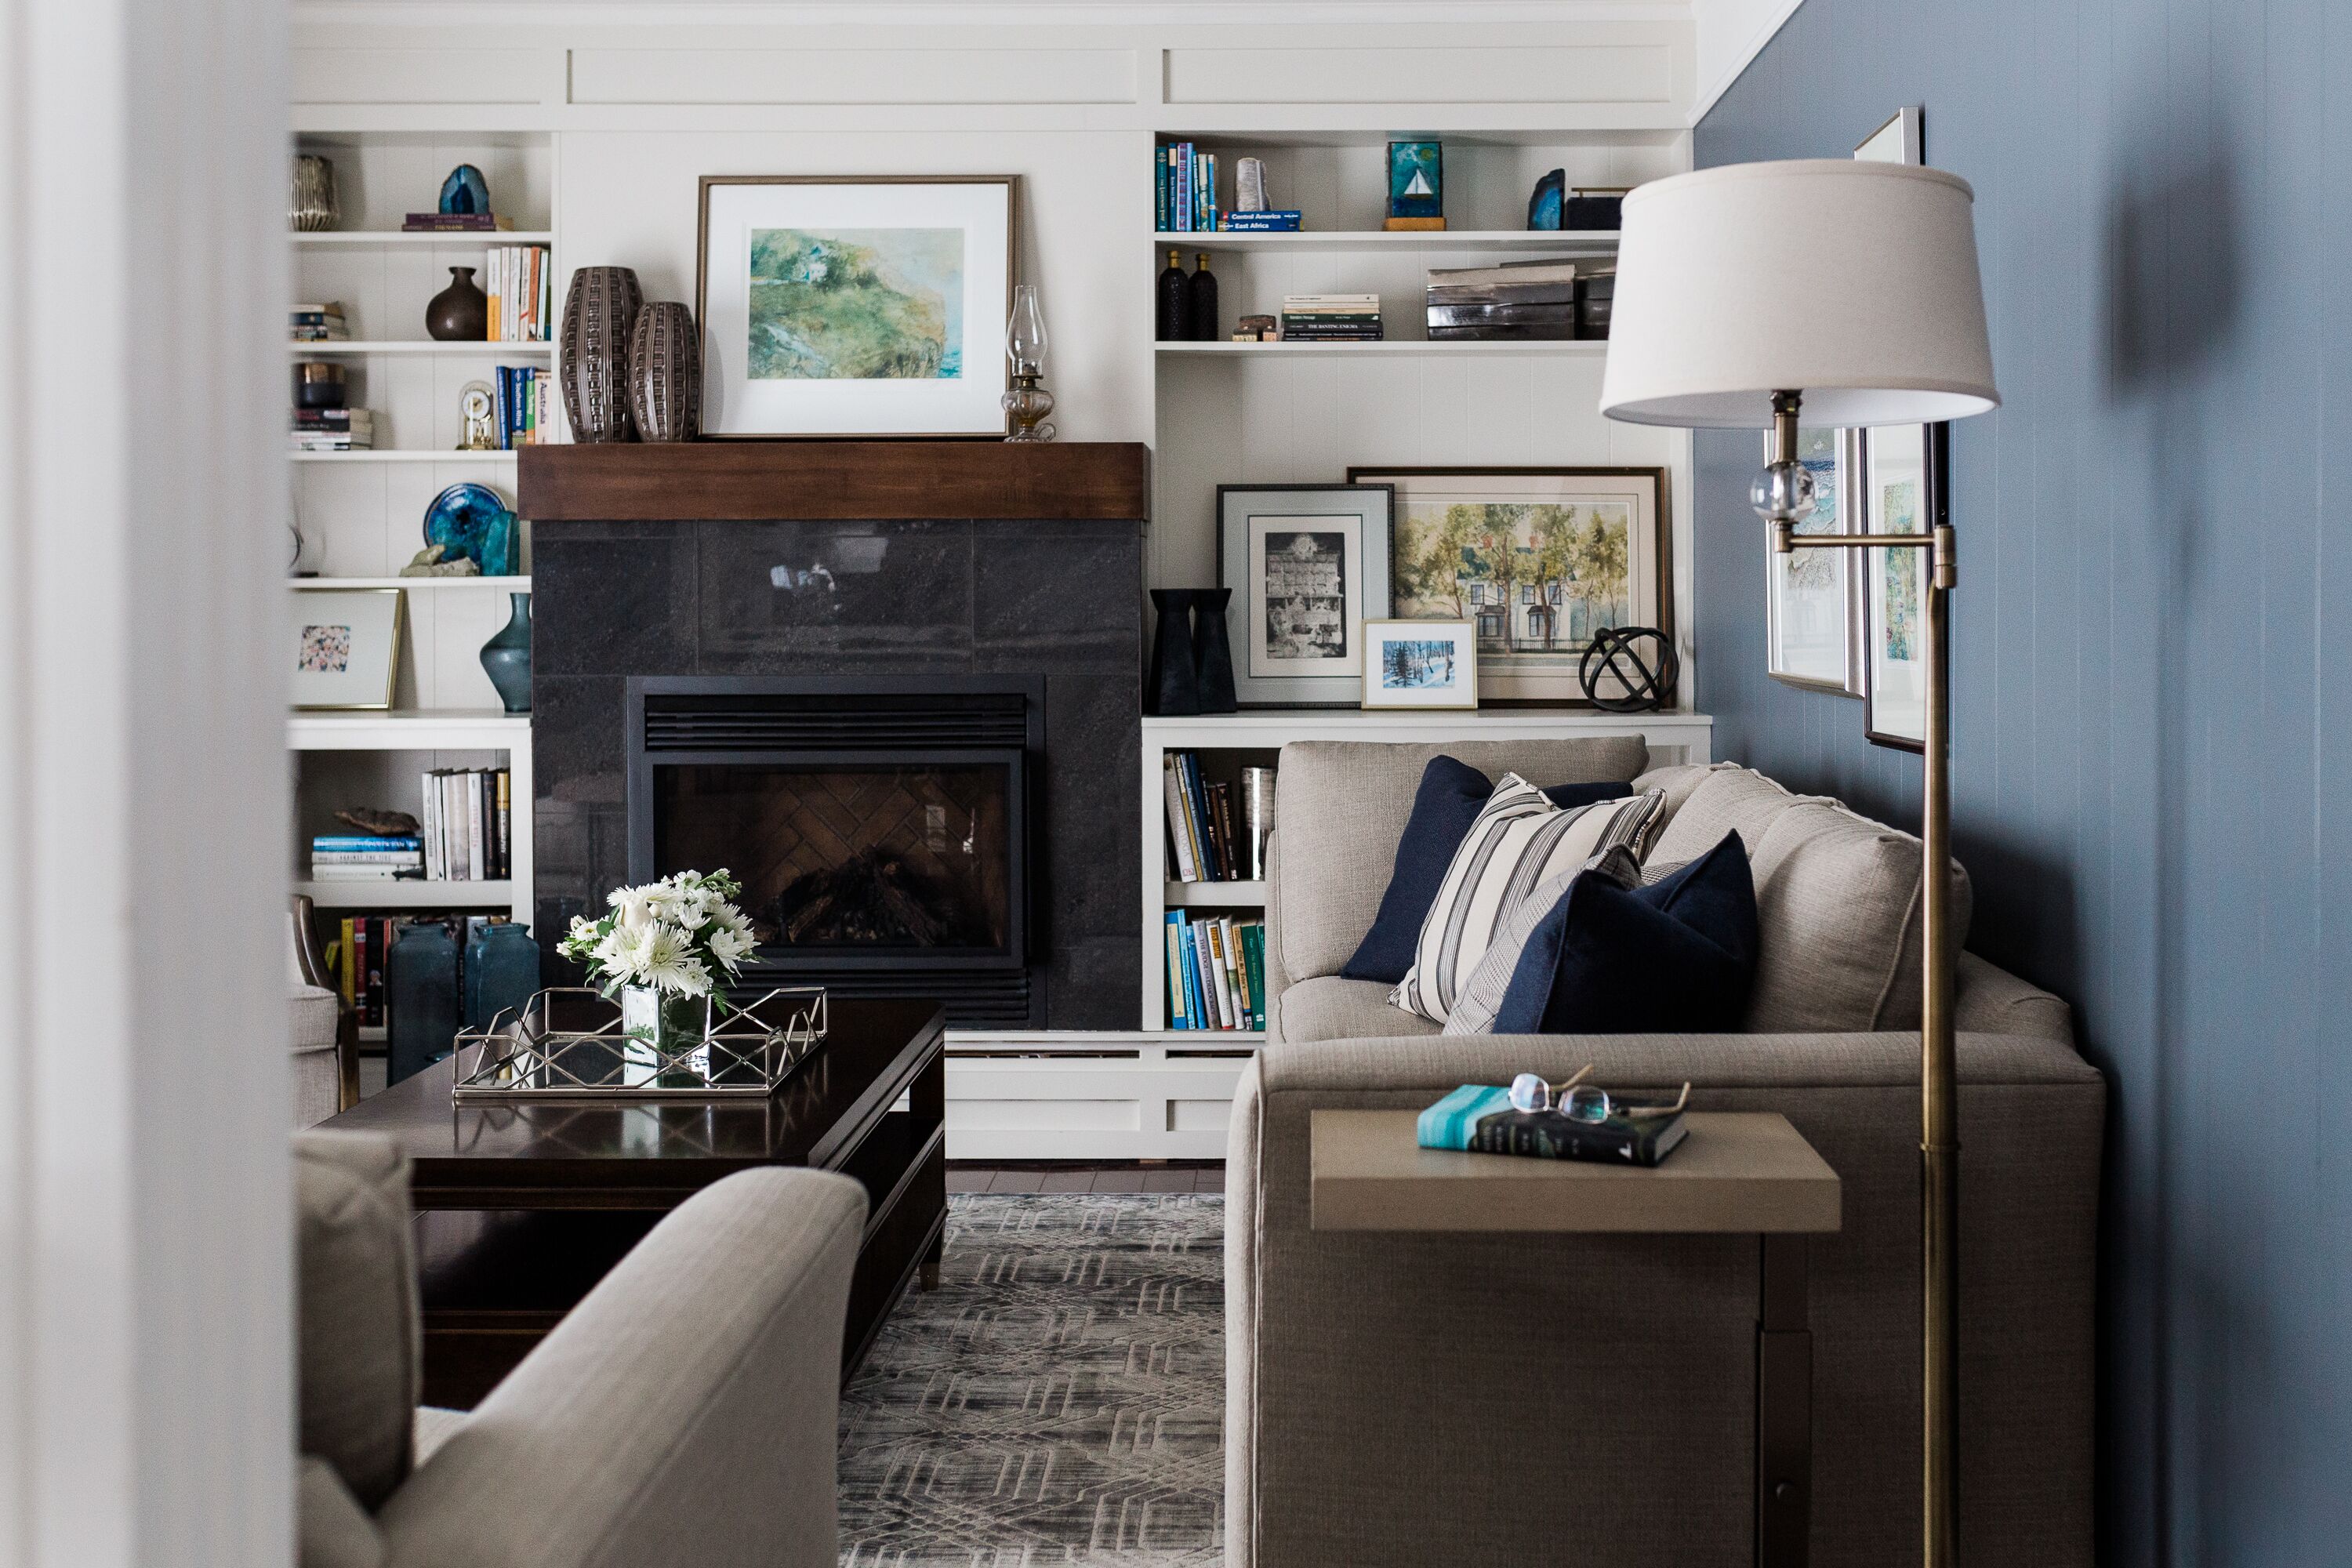
1. Repetition: While this doesn’t mean using the same accessory multiple times (although, sometimes a dose of this with two large sculptural pieces on symmetrical shelving can look good!), it does mean having similarities in some of the main pieces. The easiest way to do this is through colour – although it can be done using shape as well. In the “shelfie” (shelf-selfie, lame but too cute not to run with it) pictured here, I was working with shades of blues as an accent to the rooms neutral-with-navy colour story. Pull whatever accent colour you choose throughout the shelving – left to right, top to bottom – to bring cohesion to the overall collection of items.
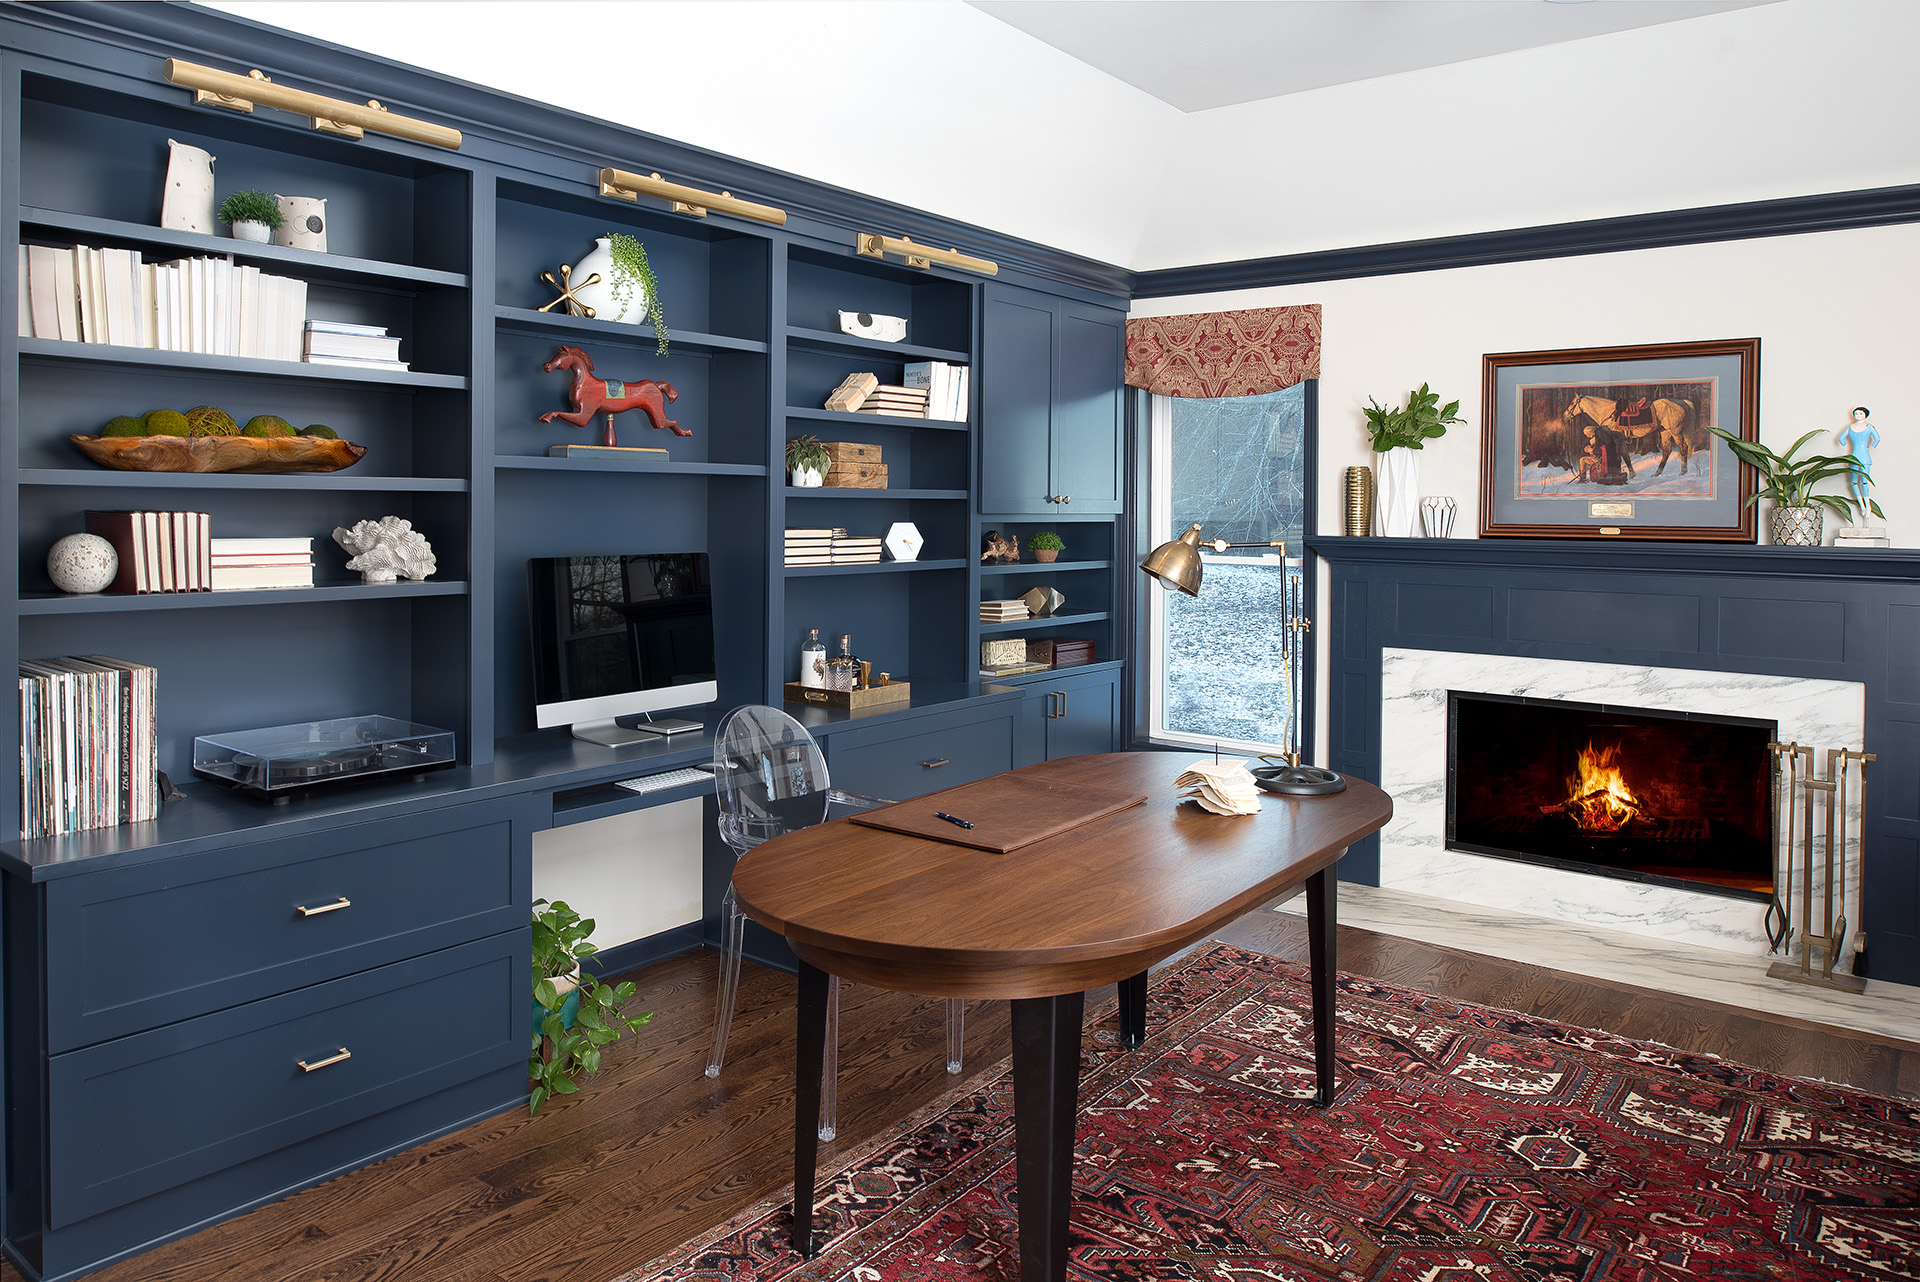
2. Scale: For shelves, this one becomes a little easier in the rule – although can be a little bit of a nuisance for execution! The shelving was original to the home, and although we remodeled the built-ins it’s part of to fit a fireplace (check that out here), we kept the shelves as-is – which meant roughly 10” of height to work with, and 8” of depth! Not the most convenient for finding the right size-right colour-right style accessories! But we persevered 😉. The bulk of your accessory choices should fit the shelving rather fully, to avoid any feel of it being cluttered with smaller items. Layer smaller pieces into groupings with the larger ones, to give them a bit more “substance”.
3. Flow: This is kind of the final step, once you have things arranged. Step back and look at the completed area, and see if your eye is pulled naturally. Are there enough similar colour pops to make the look cohesive? Does the scale work, or does one piece seem unbalanced? Do you need to edit your final choices – perhaps things are looking cluttered? Experiment with some trial and error, and you’ll be sure to come to a final result you’re happy with! Especially if you include some of your most treasured items, so you can enjoy them daily!